Saltillo tile brings warm, rustic color to a room. It is a handmade terracotta tile, so it is soft and full of tiny pores. Those pores soak up spills fast. Food, drink, and even plain water can leave a stain. That is why sealing matters so much. If you want to learn how to seal Saltillo tile the right way, this guide walks you through each step, from stripping old wax to the final coat of sealer.
Saltillo is versatile. You can leave it in its most rustic form with no wax or protectant on it, or you can seal it to lock in the color and add a soft shine. Many people love the look and feel of Saltillo under their feet. Sealing keeps that look while making the floor far easier to live with.
- Saltillo is a soft, porous terracotta tile.
- Bare tile stains easily from spills and water.
- Sealing protects the color and makes cleanup simple.
Why Sealing Saltillo Tile Is Worth the Effort
A sealer is a thin barrier that sits in or on top of the tile. It stops liquids from sinking into the clay. Without it, the floor drinks up whatever lands on it. With it, most spills wipe right up.
Here is what a good seal does for you:
- Blocks stains from food, drink, and water.
- Keeps the rich terracotta color from fading.
- Makes daily cleaning quick and gentle.
- Adds a subtle glow, or a matte finish, depending on the product you pick.
If your floor already looks dull, blotchy, or white in spots, it likely needs the old finish stripped and a fresh seal. That is the project this guide covers.
Step 1, Strip Off the Old Wax or Sealer
You cannot seal over a worn or dirty finish. New sealer will not bond, and you can end up with an odd, cloudy look. So the first real step is stripping the tile down to its base coat and color.
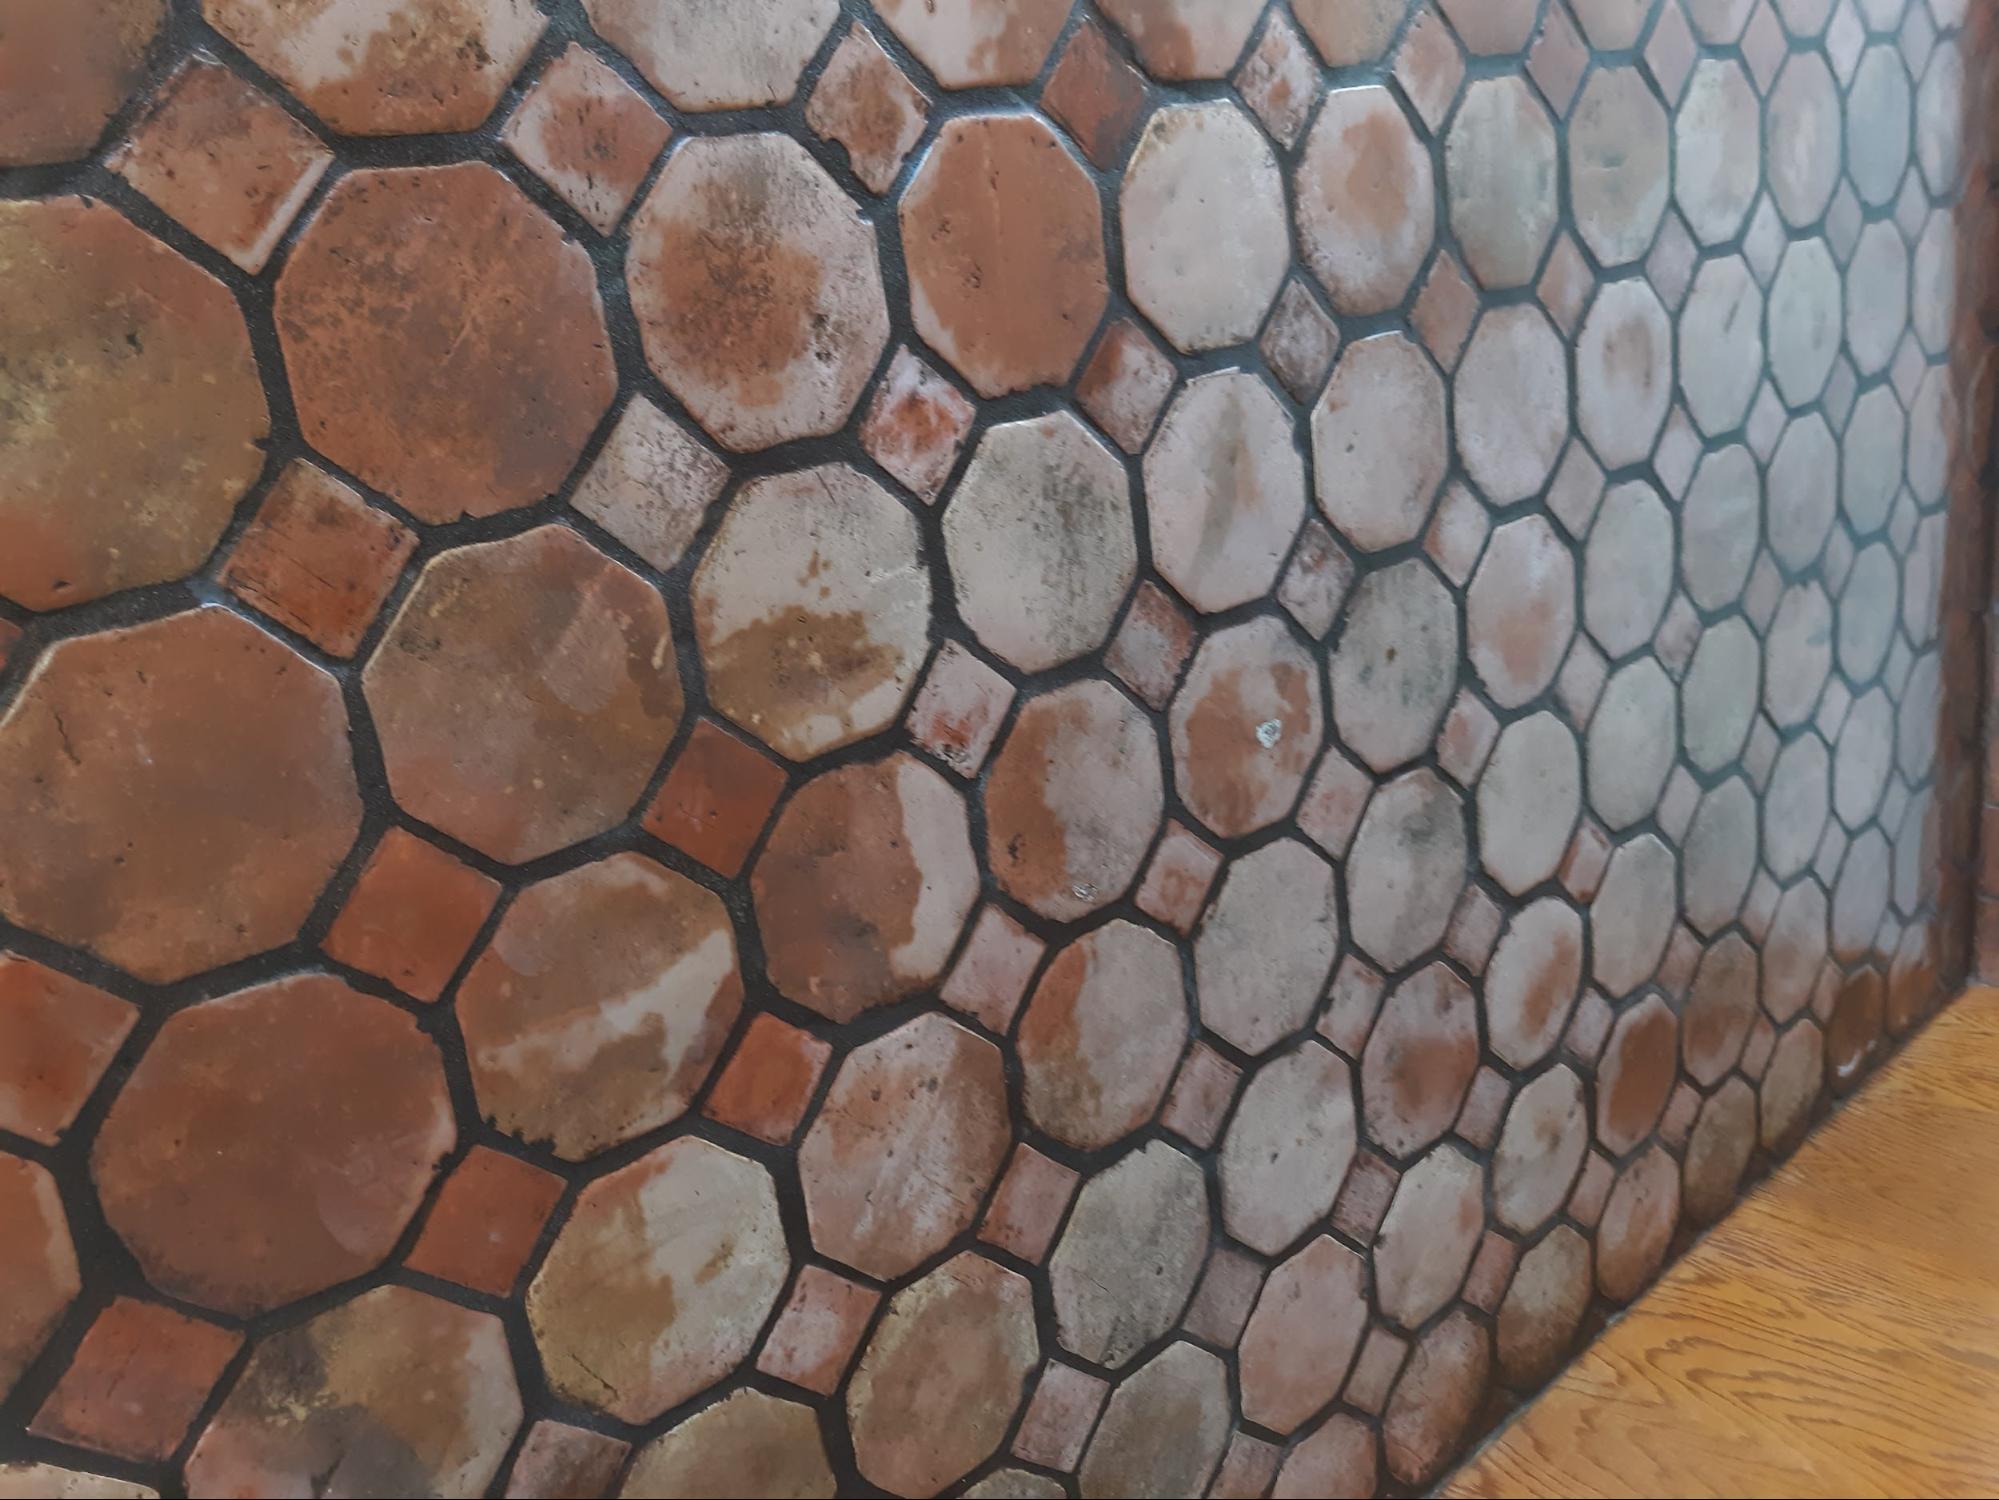
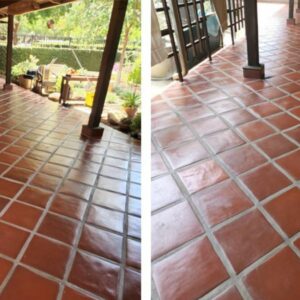
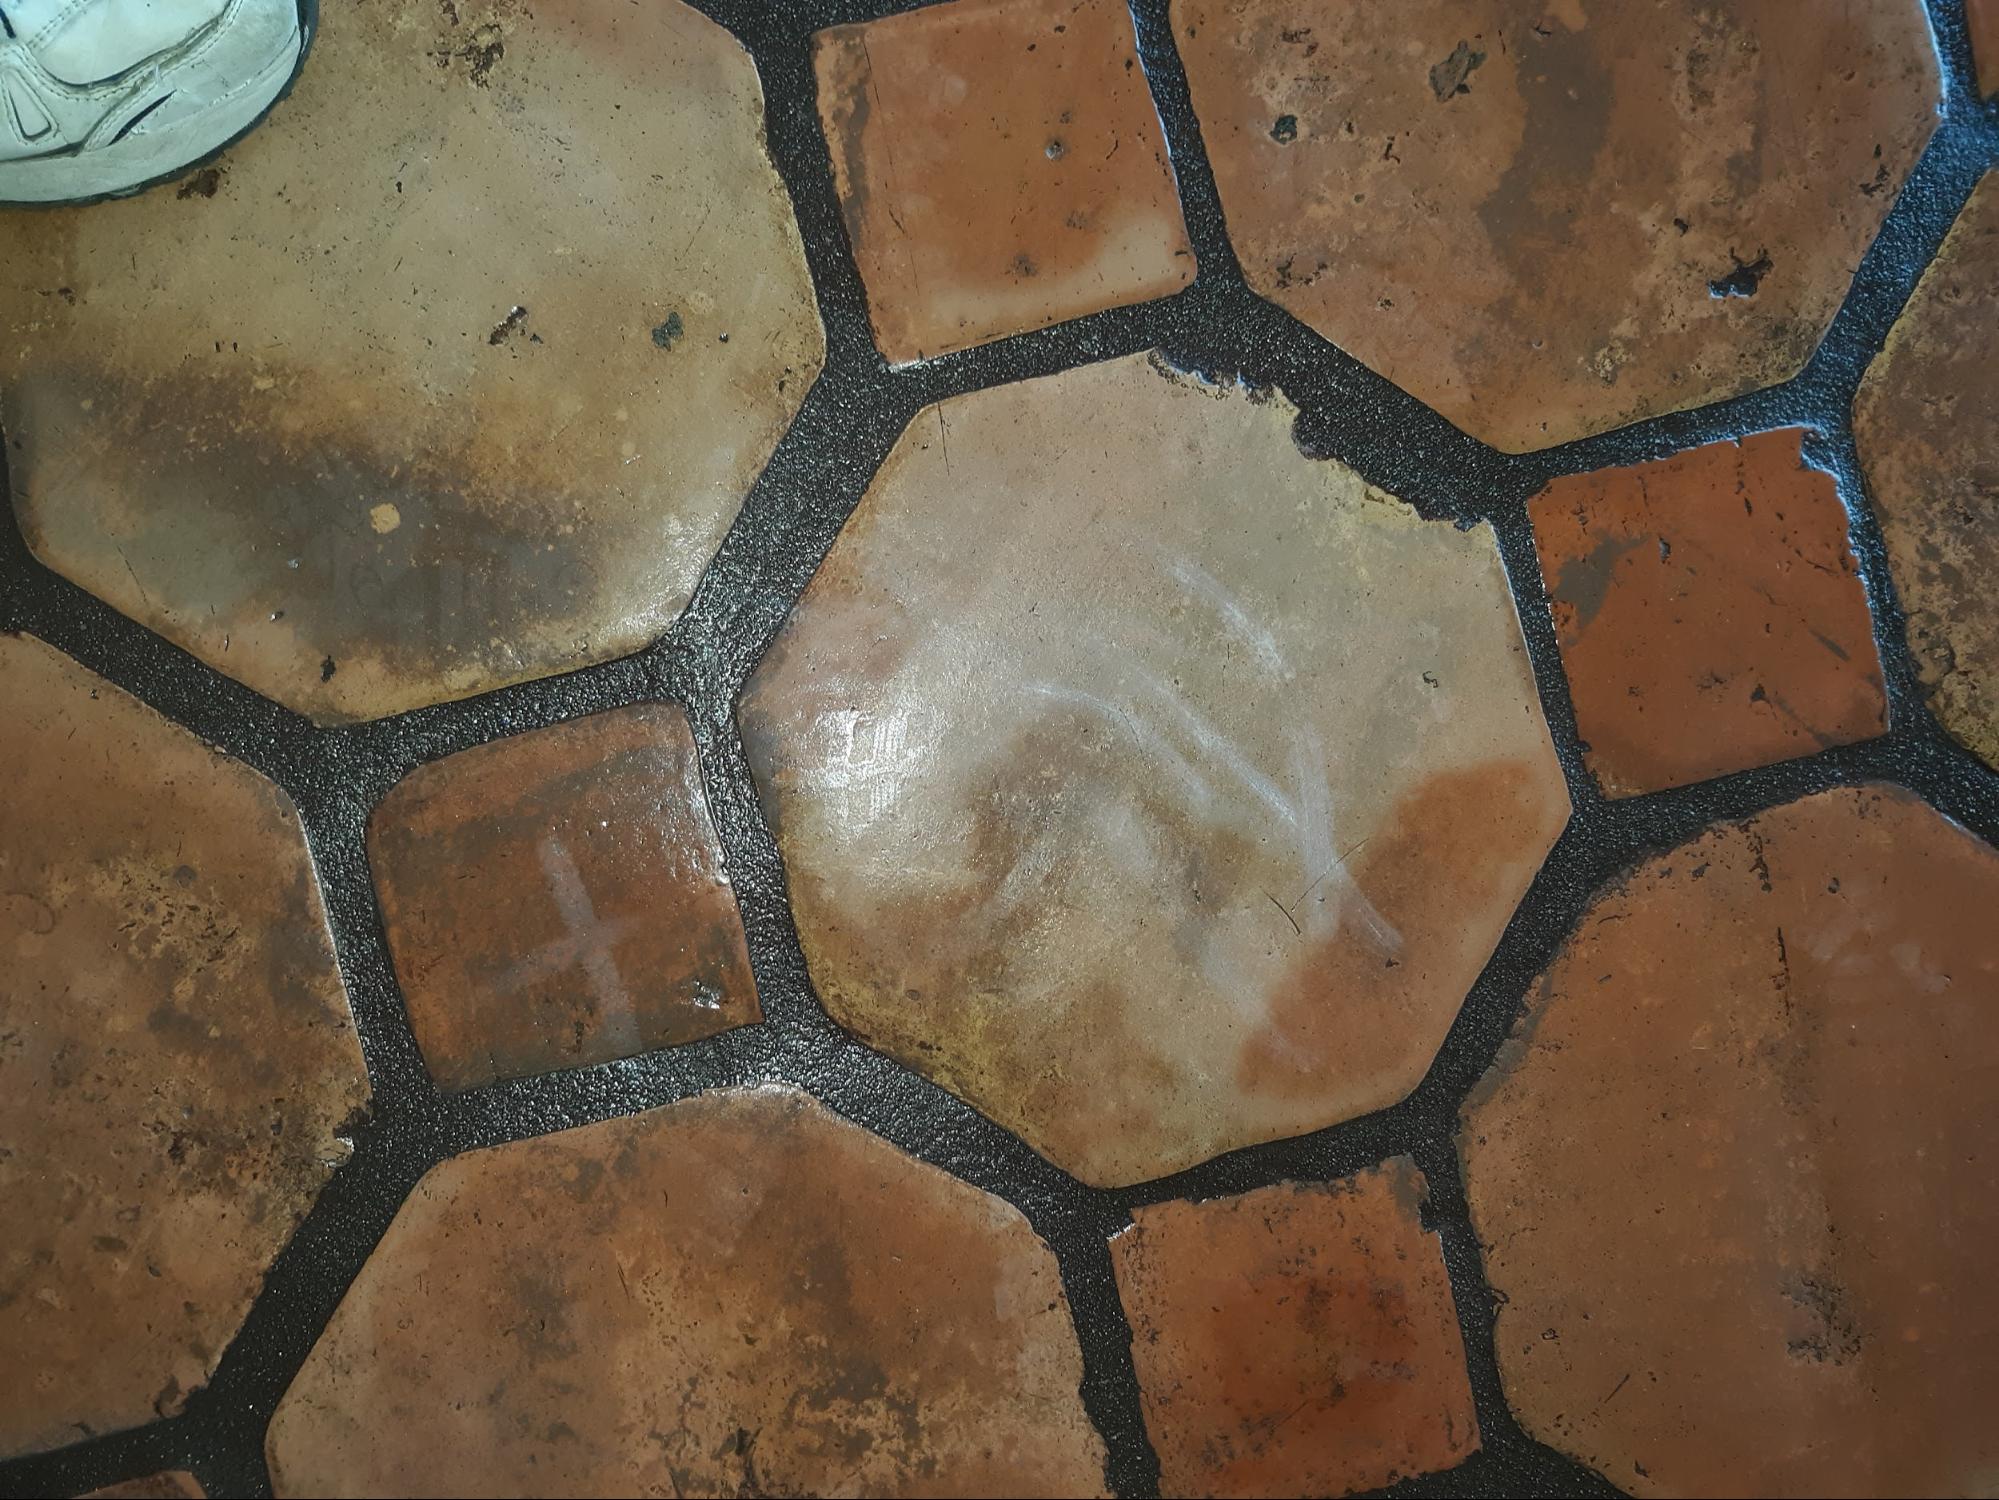
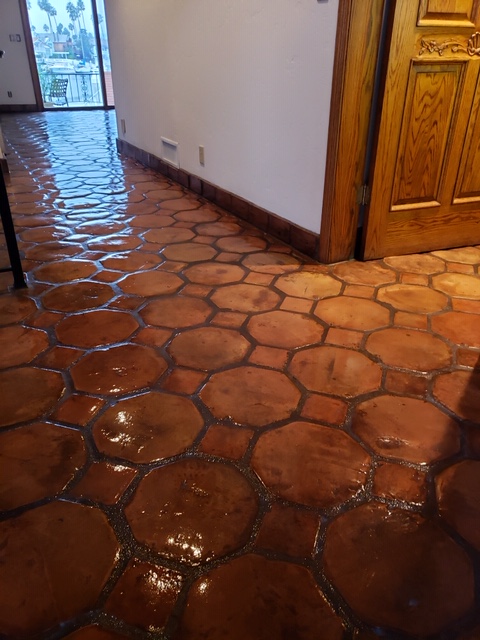
When a Saltillo floor has been waxed before, the base coat can look white once you strip it. That is normal. In a recent job, our Kelly Technicians stripped a tile floor all the way down to its base coat and color. It was a necessary step. If they had simply added more wax over the old top coat, the tile would have shown an awkward, refracted look that would not have been ideal.
To strip an old finish:
- Clear the room and sweep up loose dirt and grit.
- Apply a stripping product made for tile or wax.
- Let it sit so it can break down the old coating.
- Work it with a brush or pad, then remove the loosened film.
- Rinse well so no residue is left behind.
Take your time here. A clean, bare surface is what makes the rest of the job succeed.
Step 2, Clean the Tile and Grout Before You Seal
Sealer traps whatever is under it, so the tile and grout must be spotless first. This is only the prep step. If you want the full method for scrubbing grout lines, see our simple guide on how to clean grout in Santa Barbara.
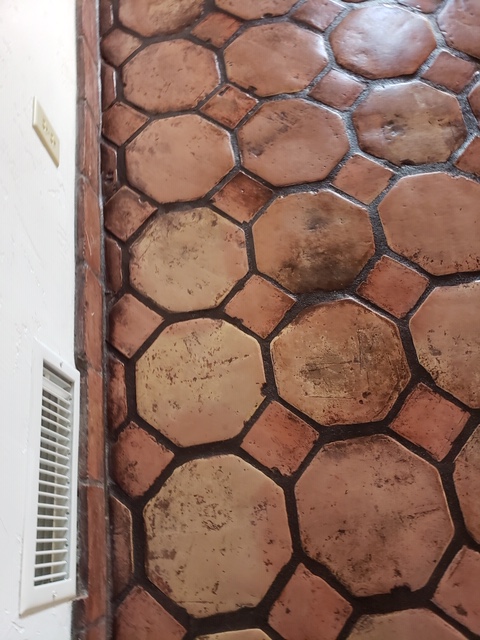
On the recent job, after our technicians stripped the tile down, they carefully cleaned the grout with grout cleaning brushes and a gentle cleaning chemical. Once the tile and grout were free of dirt, debris, and any other contamination, the surface was ready for the next stage.
A solid cleaning pass looks like this:
- Sweep or vacuum to pull up grit.
- Scrub grout lines with a stiff brush and a gentle cleaner.
- Wipe the tile faces so no film remains.
- Rinse and let the floor dry fully before sealing.
Do not rush the drying time. Trapped moisture under a sealer can turn cloudy.
Step 3, Choose the Right Sealer, Penetrating or Topical
There are two main kinds of sealer, and the one you pick changes the final look and feel.
- Penetrating sealer: This soaks into the pores of the clay. It protects from the inside and keeps a natural, matte look. It does not add much shine.
- Topical sealer: This sits on top of the tile as a film. It adds a shinier, glossier finish and a bit more surface protection. It can also change how the floor feels underfoot.
Think about the look you want and how much traffic the floor gets. A rustic kitchen may call for a matte penetrating sealer, while a formal entry might suit a glossier topical one. Some floors also get a stain or color coat first to deepen the terracotta tone.
Quick way to decide:
- Want the natural, flat look? Lean penetrating.
- Want shine and a stronger surface film? Lean topical.
- Not sure? Test a small hidden area first.
Step 4, Apply the Sealer, and Add Color If You Want It
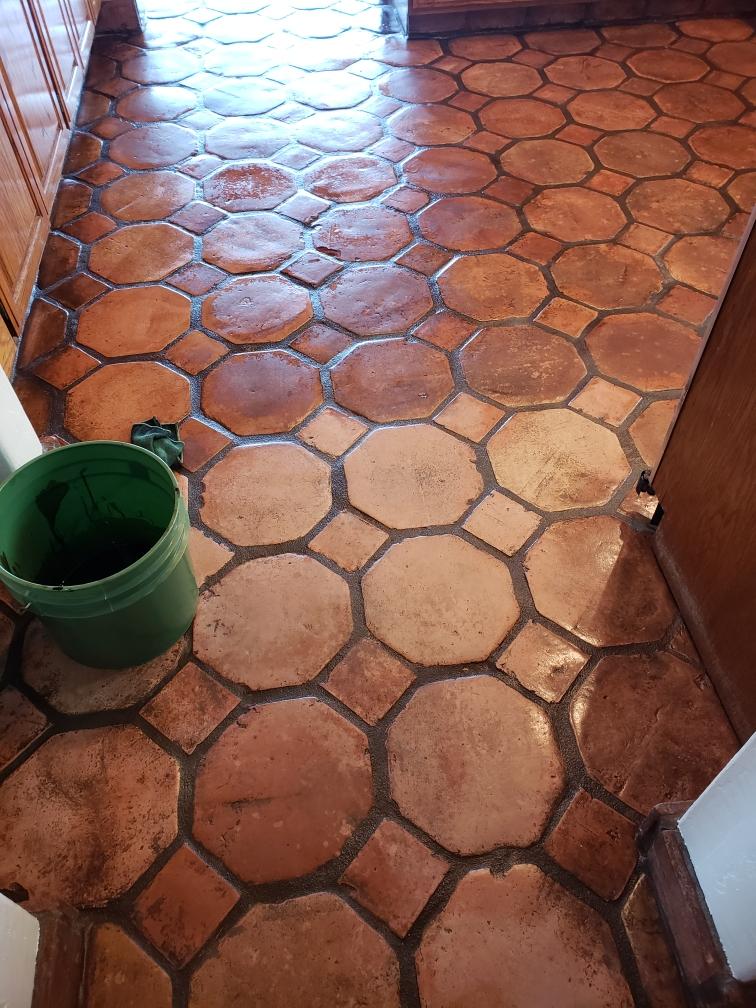
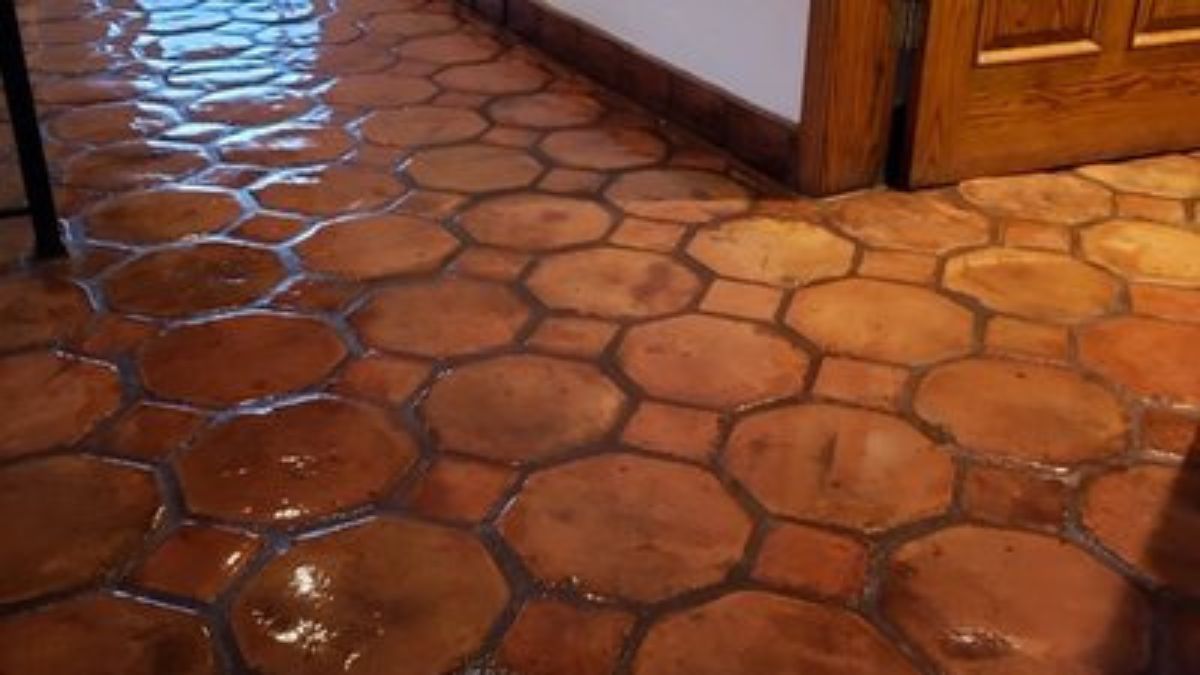
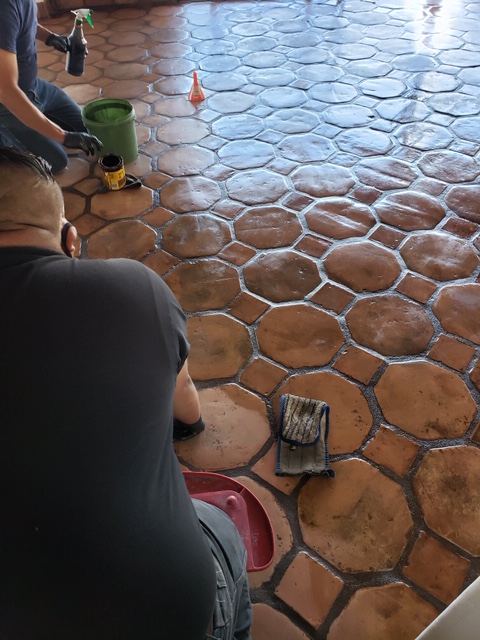
On the Kelly job, the technicians coated each tile with a tile stain using cloths and applicators, by hand. That hand work was the major factor in transforming the white looking tile into the rich, deep color you see in the finished pictures. After the color, they protected the finish by putting a thin, even layer of sealer over the tile. This makes the tile easier to clean while keeping its rich, lustrous, and vibrant look.
To apply sealer well:
- Stir the product gently, never shake it.
- Work in small sections so you keep a wet edge.
- Spread a thin, even coat with a cloth, brush, or applicator.
- Avoid puddles, which dry unevenly and can look blotchy.
- Add a second thin coat if the product calls for it.
Thin and even always beats thick and heavy. Two light coats last longer than one gloppy one.
Step 5, Let It Cure, Then Keep It Sealed
Sealer needs time to cure, not just dry to the touch. Follow the product label for how long to wait before walking on the floor or replacing furniture. Cutting the cure short is one of the most common mistakes.
Once cured, upkeep is easy:
- Sweep or dust mop often to keep grit off the surface.
- Wipe spills quickly so they never sit.
- Clean with a pH neutral cleaner, not harsh acids or strong soaps.
- Reseal every couple of years, or when water stops beading on the tile.
A quick water test tells you a lot. If drops soak in instead of beading, it is time to reseal.
When to Call a Pro Instead
Stripping, staining, and sealing a full Saltillo floor is real work. It takes the right products, careful prep, and patience. A pro crew can save you time and get an even, lasting finish. Kelly Cleaning handles tile and grout care across the region, including tile cleaning in Ventura and tile cleaning in Santa Barbara. You can also browse all of our cleaning services to see how we help homes and businesses.
Consider a pro when:
- The old finish is thick, uneven, or badly worn.
- The floor is large or in a high traffic area.
- You want a color coat applied by hand for a rich, even look.
Ready to Restore Your Saltillo Floor?
Sealing Saltillo tile is worth it. Done right, it protects the color, blocks stains, and makes daily cleanup simple.
- Strip the old finish, then clean the tile and grout fully.
- Pick a penetrating or topical sealer for the look you want.
- Apply thin, even coats, let it cure, and reseal when water stops beading.
When you would rather leave the stripping, staining, and sealing to an experienced crew, our professional tile cleaning service for Ventura and Santa Barbara counties can bring your Saltillo floor back to life.